Verifying credentials tutorial
Updated: June 2, 2020
This tutorial will guide you through the steps necessary to request & verify a Verifiable Credential in a website. A code sample is also available on GitHub for your reference. Before implementing this tutorial, we recommend implementing the tutorial on issuing Verifiable Credentials.
When you're ready to accept Verifiable Credentials in your website, you'll need to go through a few steps.
- Setup an instance of Azure Key Vault.
- Install the Verifiable Credentials SDK.
- Generate a DID for your website.
- Run a Node server, displaying a QR code to the user.
- Return a presentation request to Microsoft Authenticator.
- Receive a presentation response from Microsoft Authenticator.
- Validate the received credentials on your webserver.
Requirements to issue credentials
To verify a Verifiable Credentials, you need the following services.
| Service | Requirement |
|---|---|
| Azure | A valid Azure subscription with the ability to create resources. |
| Azure Key Vault | An instance of Azure Key Vault with the ability to create keys. |
| NodeJS | You must be able to run a simple Node server that can display a single web page containing an presentation request. More detail is available in the next article. |
Setup Azure Key Vault
To authenticate a credential presentation request to the user, your verifer website will use your crytographic keys in Azure Key Vault.
| Detail | Recommended |
|---|---|
| Region | East US |
| Pricing Tier | Standard |
To access Azure Key Vault, your website will need a client ID and client secret that can be used to authenticate to Azure Key Vault.
| Detail | Recommended |
|---|---|
| Supported account types | This organization only. |
| Client Secret | Create a new client secret in the Certificates & Secrets configuration section. |

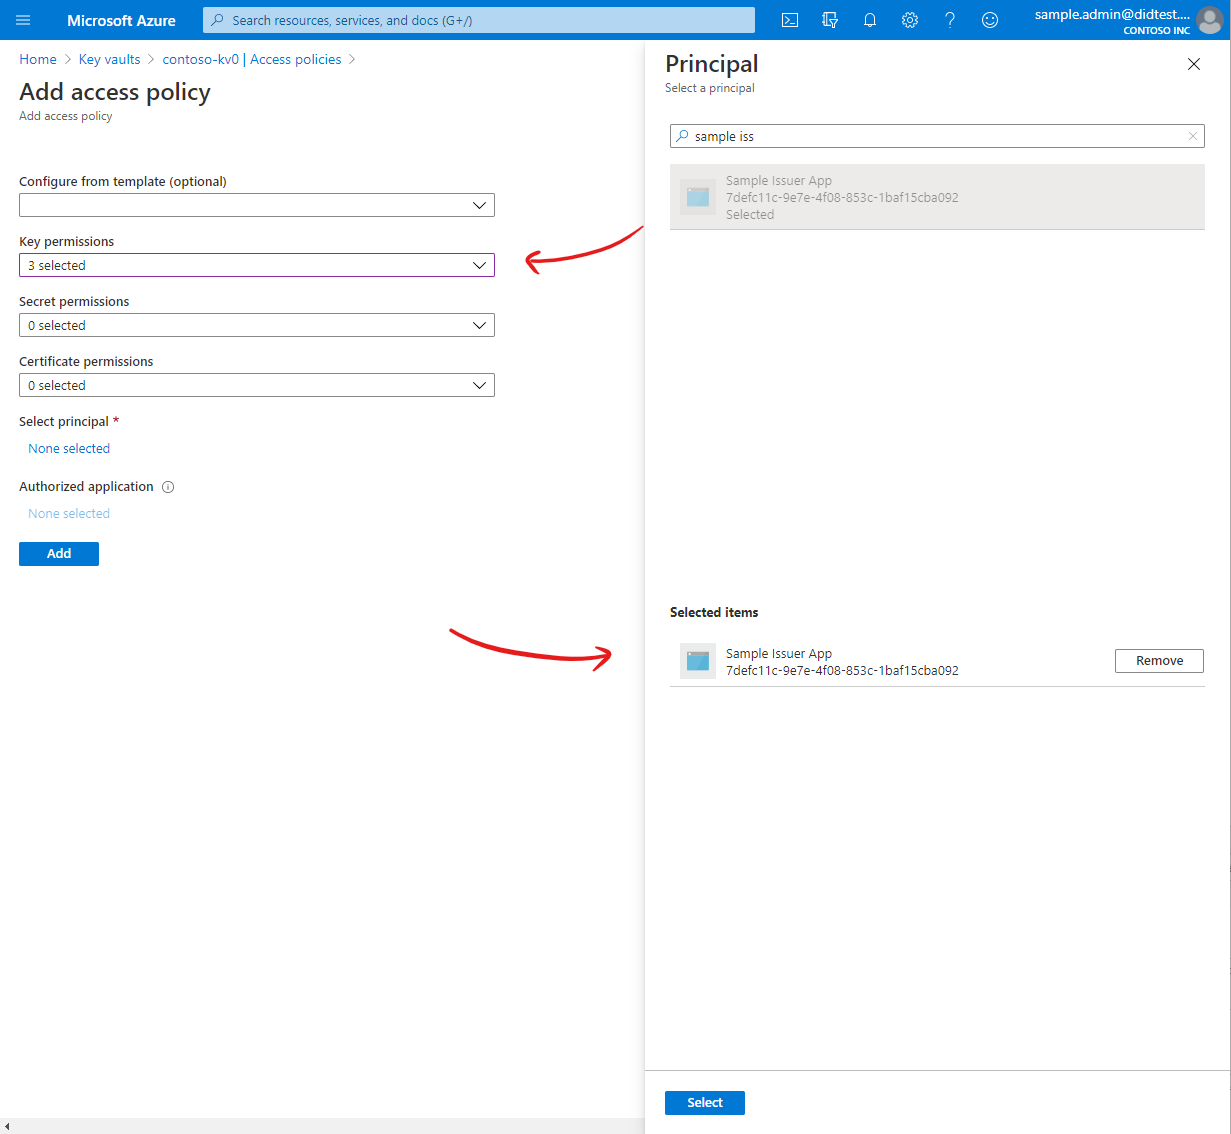
After creating your application in Azure AD, you need to grant the application permission to perform operations on your Key Vault. This enables the website to access and use the private keys that are stored in Key Vault.
| Detail | Required |
|---|---|
| Principal | Your Azure AD application, created above. |
| Permissions | At minimum, permit the Key Create, Key Get, and Key Sign operations. |
At this point you should have a Key Vault and an application with a client ID and client secret. Your application has been granted access to your Azure Key Vault.
Install the VC SDK
During the Verifiable Credentials preview, you must request and verify credentials by using the Verifiable Credentials NPM package. Source code for the Verifiable Credentials SDK can be found on GitHub.
npm install verifiablecredentials-verification-sdk-typescript@0.10.0-preview.29
npm install @azure/identity@1.1.0
Generate a DID
Now it's time to create a decentralized identifier (DID) that represents your organization. The verifier website will use the DID when it requests a verifiable credential from the user.
// This script generates an unpublished long-form DID, storing private keys in Azure Key Vault.
// You should only need to run this script once to generate your verifier's DID and its keys.

//////////////// Load DID packages
var { ClientSecretCredential } = require('@azure/identity');
var { CryptoBuilder,
      LongFormDid,
      KeyReference,
      KeyUse
    } = require('verifiablecredentials-verification-sdk-typescript');

///////////////// Setup the crypto class from the VC SDK
const kvCredentials = new ClientSecretCredential('Azure Tenant Id', 'Client ID', 'Client Secret');
const signingKeyReference = new KeyReference('verifier-signing-key', 'key');
const recoveryKeyReference = new KeyReference('verifier-recovery-key', 'key');
var crypto = new CryptoBuilder()
    .useSigningKeyReference(signingKeyReference)
    .useRecoveryKeyReference(recoveryKeyReference)
    .useKeyVault(kvCredentials, 'https://myvault.vault.azure.net/')
    .build();

(async () => {

/////////////// Generate the necessary keys in Azure Key Vault, and generate a DID.
crypto = await crypto.generateKey(KeyUse.Signature, 'signing');
crypto = await crypto.generateKey(KeyUse.Signature, 'recovery');
const did = await new LongFormDid(crypto).serialize();
console.log(did);

})();
If successful, this script will output your newly created DID to the console. The private keys for the DID will be stored in the Azure Key Vault you provided. Continue onto the next article to build a simple website that accepts a verifable credential.
See something missing? We'd love your feedback and input on the Verifiable Credentials preview. Please contact us. When you use Microsoft DID Services, you agree to the DID Preview Agreement and the Microsoft Privacy Statement.