Get started with Verifiable Credentials
Updated: October 22, 2020
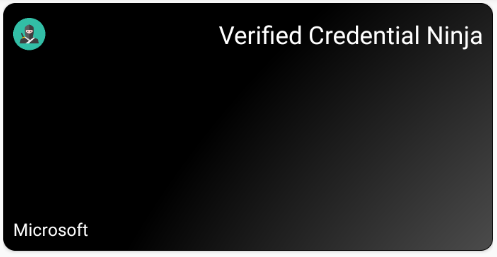
Welcome to Verifiable Credentials, powered by Azure. In this hello world tutorial, we'll teach you to issue your first verifiable credential: a Verified Credential Ninja Card. You can then use this card to prove to a verifier that you are a Verified Credential Ninja, mastered in the art of digital credentialing.

In order to complete this tutorial, you'll need the following:
- NodeJS version
10.14or higher installed on your machine. - Git installed on your machine.
- An Android device.
- ngrok installed on your machine.
Download the sample code
To issue yourself a Verified Credential Ninja Card, you'll need to run a simple website on your local machine. The website will be used to initiate a verifiable credential issuance process. We've provided a simple website, written in NodeJS, that we'll use througout this tutorial.
git clone https://github.com/Azure-Samples/active-directory-verifiable-credentials.git
You may want to familiarize yourself with the code in the sample websites. The issuer folder contains all code used to issue a verifiable credential. More details are available in the sample's readme.
Run the issuer website
When you run the sample website, your android device will need to communicate with the Node server running on your local machine. To do this, we recommend using ngrok. Ngrok is an easy way to expose your local development server though the public web.
8081. Ngrok will output two forwarding URLs for your server. Copy the URL with the https:// prefix.ngrok http 8081
Now that your local port is exposed through ngrok, the sample automatically uses the host used so make sure you open the website with the hostname generated by ngrok.
You're now ready to run the sample website and issue yourself a Verified Credential Ninja Card.
issuer folder. Install all necessary packages, and start the node server. Navigate to the website's homepage, which runs on port 8081 by default.cd ./issuer
npm install
node ./app.js
If you navigate to the ngrok forwarding URL on your android device, you should be able to successfully visit the homepage of the sample website. Check this to ensure your android device can communicate to your local server.
Issue a credential
Before you can receive your verifiable credential, you'll need the Microsoft Authenticator app. Microsoft Authenticator will be used to receive, store, and present your verifiable credentials to interested parties.
Finally, issue yourself a verifiable credential. The sample website displays a QR code, which can be scanned using Authenticator following the instructions here. The website also displays a deep link, which you can tap if you visit the website in your device's mobile browser.
Next steps
Congratulations! You are now a verified credentialing Ninja. But this is just the beginning of your Verifiable Credentials journey. Next, you can implement a sample verifier that accesses your Ninja Card and verfies your current Ninja status. Or, you can proceed to our issuer tutorial to learn how to issue your own type of verifiable credential. Good luck ninjas!
See something missing? We'd love your feedback and input on the Verifiable Credentials preview. Please contact us. When you use Microsoft DID Services, you agree to the DID Preview Agreement and the Microsoft Privacy Statement.